
Have you ever found a design you love, only to stop because installation seems complicated or too expensive? You’re not alone. Many hesitate with wall panels, worried about tricky DIY work or costly contractors. But what if you could create a high-end feature wall in just one afternoon, with basic tools, and without extra help?
Why Classic Style Panels Are Perfect for DIY
Effortlessly Lightweight: Each Classic Style panel weighs just 2.32 kg (about 5 lbs). This isn’t just a minor detail it’s a game-changer. You can easily lift, position, and adjust them on your own. No heavy lifting, no straining, and no need to coordinate with a helper.
Perfectly Manageable Size: At 6.3 inches wide and 114 inches long, the panels are designed to be handled by one person. They’re long enough to create a seamless floor-to-ceiling effect but slim enough to move through rooms and hallways without trouble.
Simple, Clean Cuts: The material is made for easy cutting with everyday tools. Whether you use a fine-toothed handsaw or a circular saw, you’ll get precise cuts for outlets, switches, and corners without splintering.
Phase 1: Gathering Your Tools & Materials
A successful project starts with preparation. Having the right essentials ready ensures a smooth workflow from start to finish.
Essential Toolkit:
-
Tape Measure
-
Pencil
-
Level (a 4-foot level is ideal)
-
Caulking Gun
- Neutral Silicone Adhesive
-
Fine-tooth saw (handsaw, circular saw, or miter saw)
-
Utility knife for edge clean-up
-
Safety glasses and gloves
Phase 2: Preparing Your Wall
Think of this as the foundation for a flawless finish.
-
Clean the Surface: Wipe the wall with a mild cleaner to remove dust, grease, or grime. Let it dry completely.
-
Smooth It Out: Fill holes or cracks with spackle, then sand until flush with the wall.
-
Find Your Starting Point: Use your level to draw a perfectly vertical line. Start in a visible corner and work outward.
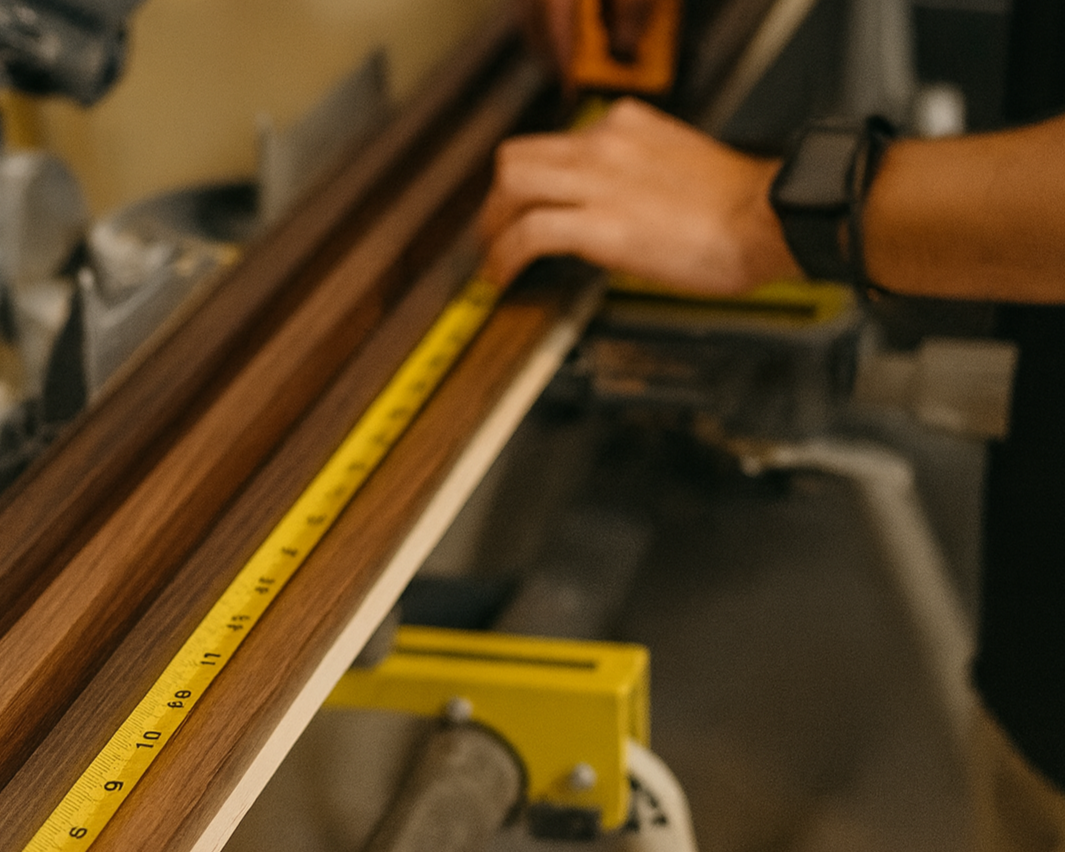
Phase 3: Measuring & Cutting
This is where Decofigura’s easy design really shines.
-
Measure Your Wall: From floor to ceiling.
-
Transfer to the Panel: Mark your cut line with a pencil always double-check before cutting.
-
Make the Cut: Place on a stable surface and cut along your line. For outlets or switches, mark and cut with a utility knife or jigsaw.
Phase 4: The Installation – Bringing Your Vision to Life
-
Acclimate Your Panels: Let them sit in the room for 24–48 hours to adjust.
-
Apply the Adhesive: Use a Neutral Silicone Adhesive to draw an “S” pattern on the back and a bead around the edges.
-
Position the First Panel: Align carefully with your vertical guideline this sets the standard.
-
Secure It Firmly: Press evenly from top to bottom. Adhesive bonds quickly.
-
Connect the Next Panel: Fit tightly against the first and press flush.
-
Repeat and Finish: Continue across the wall the lightweight design makes it quick and simple.
Phase 5: Finishing Touches
The details make the difference.
-
Corners & Edges: Caulk where panels meet walls or ceiling, or add trim for polish.
-
Clean Up: Wipe away any extra adhesive before it dries.
Step back and admire your work you’ve built a wall full of texture, warmth, and character.
Your Wall Transformation Awaits
The beauty of Decofigura isn’t just the final look—it’s how accessible the project is. Anyone can achieve a professional finish.
-
Explore the Look: Shop the Classic Style Nogal Natural Panels
-
See for Yourself: Order a Sample Kit to feel the quality and test the color at home
-
Don’t forget your Neutral Silicone Adhesive for a flawless finish.
Frequently Asked Questions
- Can I install these panels over a textured wall?
For best results, we recommend installing over a smooth surface. If you have light texture (like orange peel), a high-quality construction adhesive should be sufficient. For heavier textures, we advise sanding it down or installing a thin layer of backer board first.
- Do I need nails or screws in addition to the adhesive?
For most indoor applications on standard drywall, high-grab construction adhesive is all you need. The lightweight nature of our panels (2.32 kg) means adhesive alone provides a strong, permanent bond.
- How do I clean and maintain the panels?
Simply wipe them down with a soft, damp cloth. Avoid using harsh abrasive cleaners, which could damage the finish. The durable surface is designed to be low-maintenance.
- Can I install these in a bathroom or high-moisture area?
Our Classic Style panels are intended for use in areas with normal humidity. For bathrooms or other high-moisture environments, we recommend exploring our waterproof PVC panel options for best results.